I like all things matcha-flavored. When I’m not having it as a hot latte, I always look for ways on how to incorporate it into desserts (my other favorite thing!) like this yummy no-bake matcha cheesecake!
After successfully making matcha cookies, I figured I’d do something different. I wanted to do a richer, creamier dessert, so the first thing that came to mind was cheesecake.
This recipe, however, is a bit different, as there will be no baking involved.
This is excellent for those who don’t have an oven at home. There will be a couple of hours of wait–since it’s a no-bake, you’ll need to chill it in the fridge for a few hours to achieve firmness.
What You’ll Need
A Spring form pan
This is a type of baking pan that has sides that can be removed.
The recipe calls for a 7-inch spring form pan.
An electric mixer
You will be needing this tool for softening the cream cheese. A stand mixer would be excellent for this recipe as well.

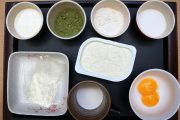
Ingredients
For the base:
• Graham crackers, 1 ½ cups
• Matcha powder, 1 tsp
• Unsalted butter, melted, 1 stick
For the cheesecake:
• Cream cheese, one pack (about 200g – 7oz), softened at room temperature
• 2 egg yolks
• Sugar (granulated), 4tbsp
• All purpose flour, 1tbsp
• Milk, lukewarm, 3tbsp + 1tsp
• Matcha powder, 4 tsp (three teaspoons for the cheesecake and one teaspoon for dusting).
• Whipping cream, lukewarm, 3tbsp + 1tsp
• Cold whipping cream, ½ cup
• Boiling water, 4tsp
• Powdered gelatin, ½ tsp( 4g )or 2 gelatin sheets
• Vanilla extract, ½ tsp (optional)
• Juice of one medium sized lemon
Directions
1. Make the cookie base.
Before you put together the actual cheesecake mixture, you have to make the foundation. Make the cake’s cookie base by combining the graham crackers, matcha powder, and the melted unsalted butter in a bowl.
Note: You can skip the matcha powder here if you want to. If you want to have a fuller matcha flavor, however, you can add a little bit more!
2. Add the crust mixture in the pan
Once the ingredients are mixed, take your spring form pan and evenly spread out the cookie crust mixture. Make sure that the entire pan is covered! Place the pan in the fridge and let it stay there until it’s time to add the cheesecake mixture.
3. Make the gelatin.
Combine the gelatin powder (or gelatin sheets) and two tablespoons of water in a medium-sized bowl. Place the bowl in the microwave and heat on medium for about 30 seconds.
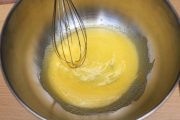
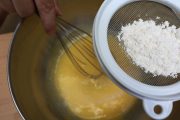
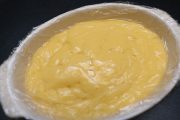
4. Make custard mixture.
Add egg yolks and 2 ½ tablespoons sugar to a bowl, whisk until thick, fluffy and pale.
Sift in flour, mix well then gently pour lukewarm milk and whipping cream in the mixture and stir.
Cook the mixture on medium heat and stir continuously until it thickens, turn off the gas.
Add gelatin to the mixture, stir to dissolve.
Strain the custard mixture through a strainer to remove plums. Let it cool down a little then cover it with plastic wrap.
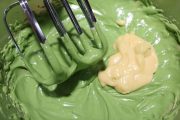
5. Beat the cream cheese.
Using your electric mixer, beat the cream cheese until it turns smooth.
Note: If your cream cheese is coming from the fridge, I suggest that you thaw it a little bit before you make the crust. This way, it’ll be soft by the time you need to soften it.
6. Add in the rest of the ingredients.
Pour boiling water into matcha powder and stir until well-combined.
Once the cream cheese turns smooth, add in the remaining sugar and matcha powder. Mix them for a few seconds, then add the lemon juice and vanilla extract.
Add in the cooled custard mixture into the matcha cream-cheese mixture, beat at medium speed until fully incorporated.
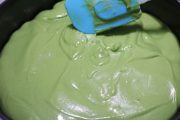
Pour cold whipping cream into another bowl, beat until soft, peak form. Add whipped cream to the cream cheese custard mixture, gently fold until well-incorporated, soft and smooth.
6. Pour the mixture into the pan.
Take out the spring pan with the crust from the fridge and pour the cheesecake mixture. Put the pan back in the fridge and let it stay there for at least three hours.
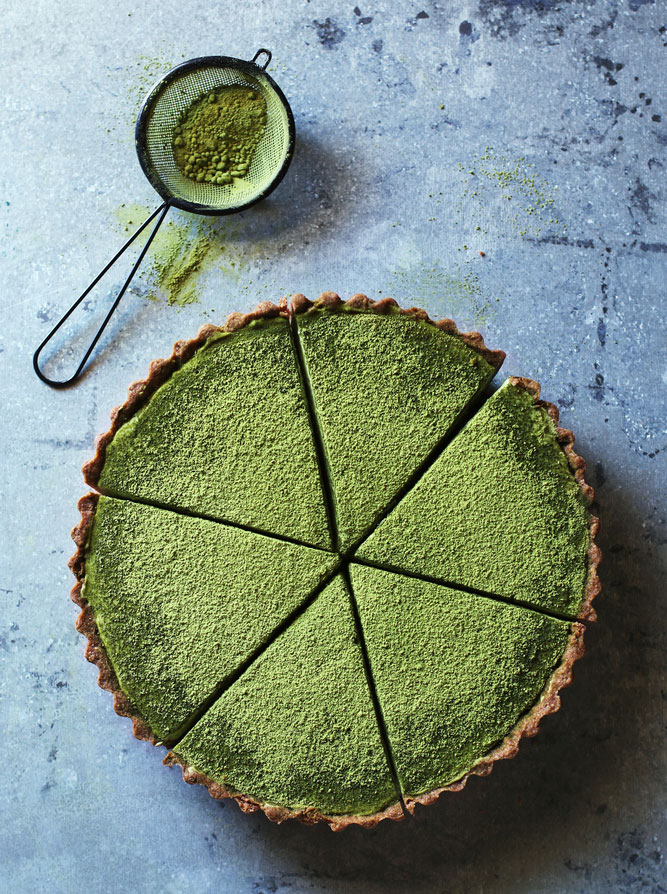
7. Dust the cake with matcha powder.
Get your remaining matcha powder and dust the cake using a sieve. Don’t make the coating thick, but also see to it that the entire top of the cake is covered.
8. Remove the cake from the pan.
I would usually just run a small, sharp knife slowly around the cake, then slowly lift the sides of the pan. It comes off easily since it’s already firm at this point. Serve while the cake is cool!
Pro tips:
• Have a mise en place for this recipe before you start. This is for an organized work area, making sure that you won’t miss any ingredient. This will allow for a faster process too!
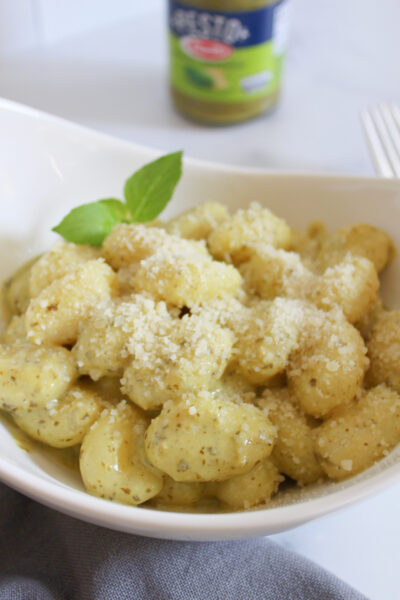
• Try this dessert with some homemade lychee tea! The lightness of the tea really balances out the richness of the cheesecake.
Thanks for dropping by!
I hope you learned a lot from this recipe, and I hope you’re happy with the results! Matcha and cheese surprisingly go so well together. It’s almost addicting—both kids and adults in my family love it!
Comments and suggestions are more than welcome! If you have recommendations, send them my way, too! Good luck, and until next time!
Author bio:
 Vivian has a huge passion for cooking. That’s why she created “Cookingispassio.com” to share her great love with other people. She believes that fine food is not only the key to promoting family cohesion, but it also helps make every member become closer.

